
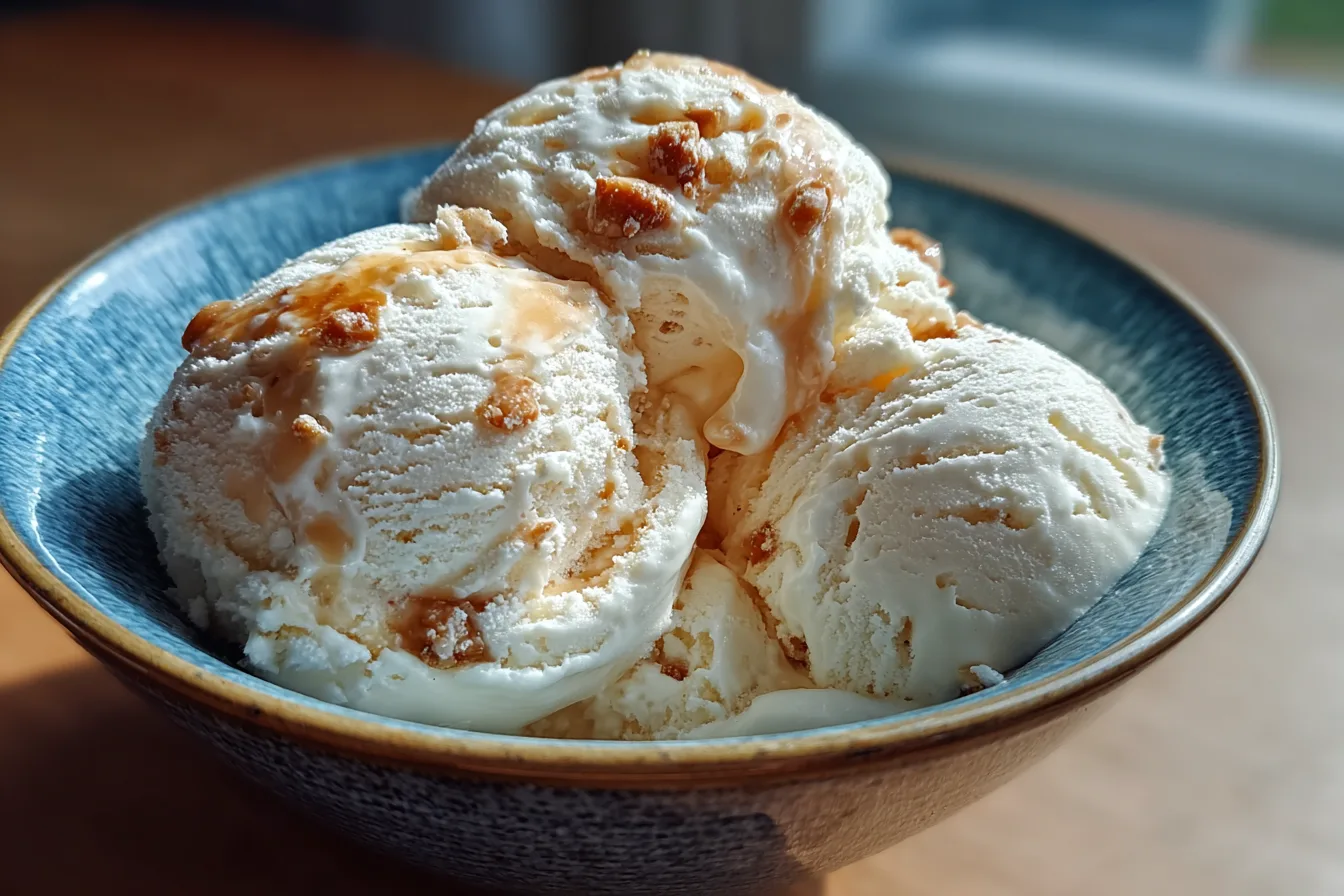
Creamy Homemade Vanilla Bean Ninja Creami Ice Cream
This Ninja Creami vanilla ice cream offers a dense, velvet-smooth texture comparable to professional-grade desserts created directly in your kitchen. Using a blend of high-quality dairy and fresh vanilla bean paste, this recipe produces a rich, classic pint that serves as a perfect base for any mix-in. The machine transforms frozen blocks into a premium treat in under five minutes.
| Prep Time | Cook Time | Total Time | Servings | Difficulty | Cuisine |
|---|---|---|---|---|---|
| 10 mins | 24 hours | 24h 10m | 2 | Easy | American |
Why This Recipe Works
The innovation behind the appliance relies on mechanical processing rather than traditional churning. This specific ratio of heavy cream to whole milk achieves the perfect fat content to remain scoopable without ice crystals or excessive hardness. I have experimented with various fat percentages, and this balance consistently delivers the most professional mouthfeel.
My personal experience shows that chilling the mixture for exactly 24 hours creates the ideal density for the paddle to cut through. Many users attempt to speed up the freezing process, but patience results in a superior product that rivals store-bought brands. Following this method guarantees a consistent, custard-like quality that keeps well in the freezer for multiple cycles.
Ingredients
| Ingredient | Quantity | Notes |
|---|---|---|
| Heavy Cream | 1 cup | Use high-fat content for richness. |
| Whole Milk | 1 cup | Provides the necessary liquid structure. |
| Granulated Sugar | 1/3 cup | Dissolve fully before freezing. |
| Vanilla Bean Paste | 1 tablespoon | Offers better flavor than extract. |
| Sea Salt | 1 pinch | Brightens the overall sweetness. |
Step-by-Step Instructions
Preparation
- Combine the heavy cream, whole milk, sugar, salt, and vanilla bean paste in a large mixing bowl.
- Whisk the mixture vigorously for two minutes until the sugar dissolves completely into the liquid.
- Pour the base into the standard container up to the fill line.
- Freeze the container on a level surface for at least 24 hours to ensure a uniform solid block.
Processing
- Remove the container from the freezer and let it sit at room temperature for five minutes.
- Secure the container into the outer bowl and lock the lid into the machine base.
- Press the Ice Cream button to begin the automated processing cycle.
- Check the texture after the first spin; if it appears crumbly, add a teaspoon of milk and run a re-spin cycle.
Chef Tips for Perfect Results
- Ensure your freezer temperature stays at or below zero degrees Fahrenheit for the sturdiest frozen blocks.
- Whisk your base thoroughly, as undissolved sugar crystals can lead to a gritty texture after processing.
- Never exceed the fill line on the pint container, as the mixture expands slightly during the initial freezing phase.
- Use room temperature ingredients when prepping your base to ensure the sugar incorporates without clumping.
- Add mix-ins only after the initial spin to keep them evenly distributed without damaging your machine blades.
Common Mistakes to Avoid
Processing a container that hasn’t frozen for a full 24 hours often results in a slushy or icy final product. Always check that the center of the block is solid before attempting to spin. If your mixture looks powdery after one cycle, do not discard it as a failure because a re-spin with one tablespoon of liquid fixes the texture every time. Leaving the container to sit out too long before spinning ruins the consistency, so use it directly from the freezer. Finally, avoid using non-dairy milk with very low fat content unless you add a stabilizer like xanthan gum to replace the cream.
Variations and Substitutions
| Ingredient | Substitution | Impact on Flavor |
|---|---|---|
| Heavy Cream | Full-fat coconut milk | Adds a subtle tropical undertone. |
| Granulated Sugar | Maple syrup | Provides a deeper, earthy sweetness. |
| Vanilla Bean Paste | Pure vanilla extract | Decreases the visual specks and aroma intensity. |
Serving Suggestions and Pairings
Serve this dessert in chilled glass bowls to maintain the temperature longer during warm evenings. Top the scoops with toasted pecans, a drizzle of warm fudge, or fresh sliced strawberries. It pairs exceptionally well with warm fruit crumbles or as a side to a dense chocolate brownie. For a sophisticated finish, consider adding a pinch of freshly grated cinnamon or nutmeg over the top.
Storage and Reheating
| Method | Duration | Instructions |
|---|---|---|
| Freezer storage | Up to 2 weeks | Press parchment paper on the surface before sealing the lid. |
| Re-processing | Unlimited | Level the surface of the pint before putting it back into the machine. |
Nutritional Information
Approximate values per serving (based on two servings per pint).
| Nutrient | Amount |
|---|---|
| Calories | 380 |
| Protein | 4g |
| Fat | 22g |
| Carbohydrates | 35g |
| Fiber | 0g |
| Sugar | 32g |
| Sodium | 45mg |
Frequently Asked Questions
Can I make this dairy-free?
You can substitute the heavy cream and milk with equal parts full-fat oat milk or coconut milk to achieve a dairy-free base. Ensure you keep the fat content high to maintain the signature creamy texture the machine is known for providing.
Why is my machine displaying an error code?
The error code usually means the lid is not locked into place or the container is positioned incorrectly. Confirm the bowl, lid, and paddle are snapped together tightly before placing the assembly into the motor base.
How do I fix a powdery texture?
A powdery texture indicates the mixture is too dry or slightly under-frozen. Use the re-spin function after adding one tablespoon of milk to hydrate the ingredients and smooth out the final result.
Can I prepare the base in advance?
You may prepare the base, pour it into the pint, and store it in the freezer for up to two weeks before processing. The longer it freezes, the more stable the composition becomes for a perfect spin.
Does the machine work with mix-ins like chocolate chips?
The machine handles mix-ins by using the dedicated Mix-in program after the ice cream reaches the desired consistency. Add your chips or nuts after the first cycle and run the specific setting to fold them through without breaking them.
Conclusion
Mastering this Ninja Creami base allows for endless dessert possibilities in your own kitchen. By following the precise steps of freezing and consistent whipping, you produce a restaurant-quality treat every single time. Experiment with different mix-ins to adjust the profile to your personal preferences. Enjoy the simplicity of creating a velvety vanilla bean masterpiece that brings people together for a cool, refreshing, and clean-ingredient experience.
Vanilla Bean Ninja Creami Base
Prep time: 10 minutes. Cook time: 24 hours. Serving size: 1 pint. Total energy: Approx 380 kcal per serving.
Creamy Homemade Vanilla Bean Ninja Creami Ice Cream
- Total Time: 1450
- Yield: 2 servings 1x
- Diet: Vegetarian
Description
Indulge in a professional-grade dessert right in your kitchen with this rich and velvety vanilla bean ice cream. Using a precise ratio of heavy cream and whole milk, this recipe produces a dense, custard-like texture that resists ice crystals. With the help of the Ninja Creami machine, you can transform simple, high-quality ingredients into a luxurious, artisanal treat that rivals gourmet store-bought brands in under five minutes of churning time.
Ingredients
1 cup heavy cream
1 cup whole milk
1/3 cup granulated sugar
1 tablespoon vanilla bean paste
1 pinch sea salt
Instructions
Combine the heavy cream, whole milk, sugar, salt, and vanilla bean paste in a large mixing bowl.
Whisk the mixture vigorously for two minutes until the sugar dissolves completely into the liquid.
Pour the base into the standard container up to the fill line.
Freeze the container on a level surface for at least 24 hours to ensure a uniform solid block.
Remove the container from the freezer and let it sit at room temperature for five minutes before processing.
Secure the container into the outer bowl and lock the lid into the machine base.
Press the Ice Cream button to begin the automated processing cycle.
Check the texture after the first spin; if it appears crumbly, add a teaspoon of milk and run a re-spin cycle.
Notes
Ensure the container is frozen on a perfectly flat surface for even results. Use high-fat heavy cream for the best mouthfeel. If the mixture is too crumbly after the initial spin, a re-spin with a splash of milk is essential for a smooth texture.
- Prep Time: 10
- Cook Time: 1440
- Category: Trending
- Method: Machine-churned ice cream
- Cuisine: American
Nutrition
- Serving Size: 1 pint
- Calories: 420
- Sugar: 28g
- Sodium: 85mg
- Fat: 32g
- Saturated Fat: 20g
- Carbohydrates: 35g
- Fiber: 0g
- Protein: 5g
- Cholesterol: 110mg