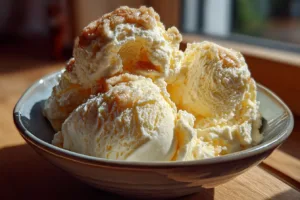
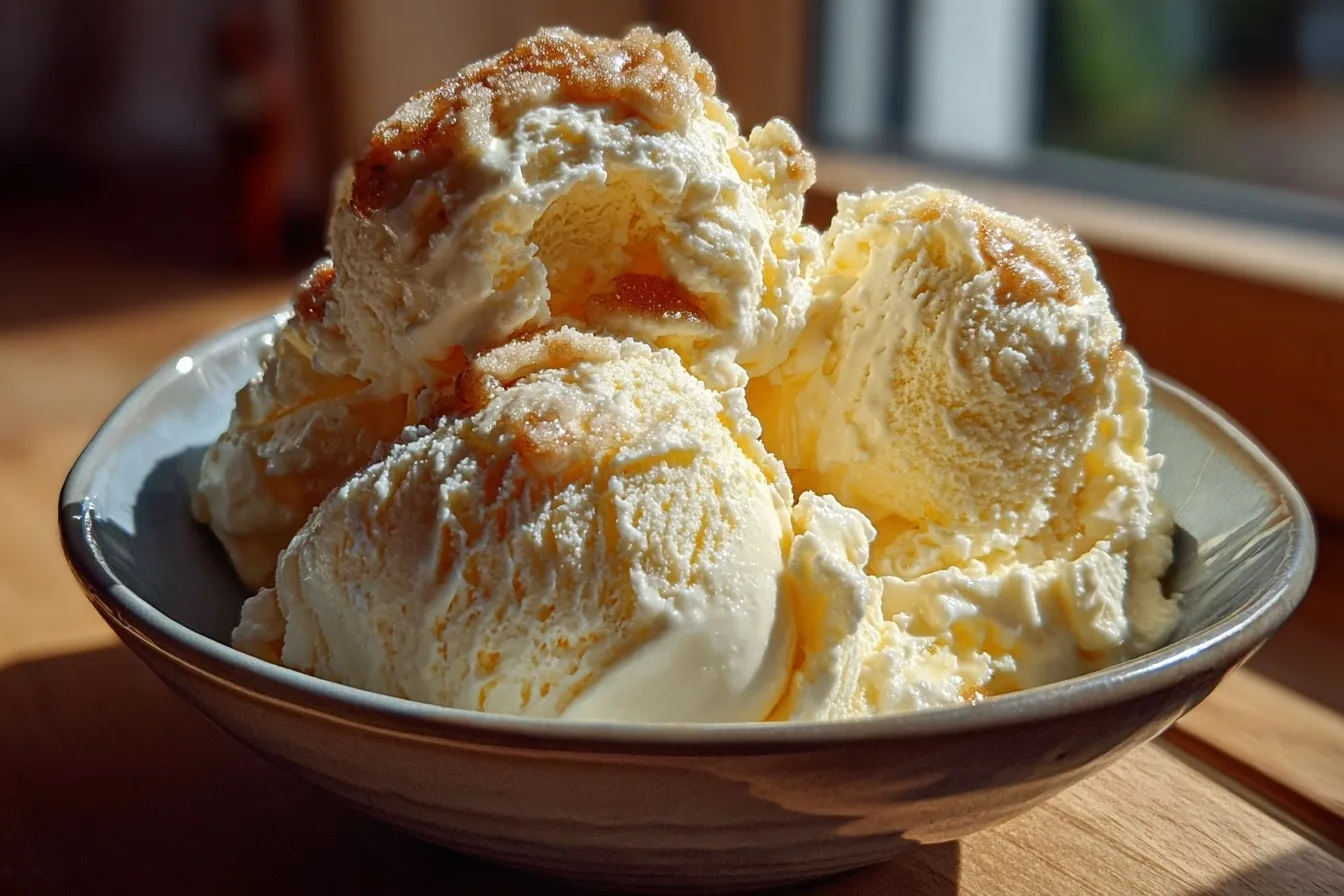
A creamy vanilla ice cream recipe produces a rich, smooth, and refreshing frozen dessert that serves as the foundation for countless sweet treats. By combining heavy cream, whole milk, and premium vanilla bean paste, you create a classic custard-based dessert that remains soft even after freezing. This homemade version relies on high-quality fat content to achieve that professional, velvety texture found in premium shops.
| Prep Time | Cook Time | Total Time | Servings | Difficulty | Cuisine |
|---|---|---|---|---|---|
| 20 mins | 15 mins | 6 hours | 8 | Medium | American |
Why This Recipe Works
This recipe works because it balances the perfect ratio of milk fat to sugar, which prevents ice crystals from forming during the churning process. Many store-bought brands use gums or stabilizers to mimic this texture, but a traditional custard base provides a natural, clean mouthfeel that simple churned milks lack.
I personally prefer this method because the slow tempering of the egg yolks creates a deep, complex flavor profile that standard no-churn recipes cannot replicate. When you invest time in the heating and cooling stages, the resulting ice cream delivers a consistent, scoopable experience that remains stable for several days in your freezer.
Ingredients
| Ingredient | Quantity | Notes |
|---|---|---|
| Heavy Cream | 2 cups | Must be chilled |
| Whole Milk | 1 cup | Full fat is essential |
| Granulated Sugar | 3/4 cup | White cane sugar works best |
| Vanilla Bean Paste | 1 tablespoon | Extract can be substituted |
| Egg Yolks | 4 large | Room temperature |
Step-by-Step Instructions
Preparing the Custard
- Whisk the egg yolks and sugar in a medium bowl until the mixture becomes pale yellow and thick.
- Heat the milk and heavy cream in a heavy-bottomed saucepan over medium heat until it begins to steam.
- Temper the egg mixture by slowly pouring half of the hot cream into the eggs while whisking constantly.
- Return the entire mixture to the saucepan and cook over low heat until it coats the back of a spoon.
Churning and Freezing
- Strain the custard through a fine-mesh sieve into a bowl to remove any cooked egg bits.
- Stir in the vanilla bean paste and chill the base in the refrigerator for at least four hours.
- Pour the cold mixture into your ice cream machine and churn according to the manufacturer’s specific instructions.
- Transfer the finished ice cream to an airtight container and freeze for four hours to firm up.
Chef Tips for Perfect Results
- Use a digital thermometer to pull the custard off the heat at exactly 175 degrees Fahrenheit to avoid curdling.
- Chill your ice cream maker bowl for 24 hours before you begin churning to reach the lowest possible temperature.
- Place a piece of parchment paper directly on the surface of the ice cream inside the container to prevent freezer burn.
- Add a tiny pinch of salt to the custard base to sharpen the sweet vanilla notes significantly.
- Freeze your serving bowls for fifteen minutes before scooping to keep the ice cream from melting too quickly.
Common Mistakes to Avoid
Common mistakes usually involve temperature control during the cooking phase or improper storage techniques. If the custard boils, the eggs will scramble and ruin the texture; always keep the heat strictly at a low level. If the base remains warm before churning, the machine will not freeze the ice cream quickly enough, leading to a grainy, icy texture. Always ensure the base is completely cold, as patience during the chilling phase determines the final quality of your scoop.
Variations and Substitutions
| Ingredient | Substitution | Impact on Flavor |
|---|---|---|
| Heavy Cream | Coconut Cream | Adds a tropical nutty finish |
| Granulated Sugar | Maple Syrup | Introduces a deeper earthy sweetness |
| Vanilla Bean Paste | Vanilla Extract | Produces a milder, floral vanilla note |
Serving Suggestions and Pairings
Serve this classic ice cream alongside a warm slice of apple pie or a fresh fruit galette to balance the temperatures. It also pairs perfectly with a drizzle of salted caramel sauce or crushed toasted hazelnuts for added crunch. For a sophisticated dessert, serve a single scoop atop a warm brownie or alongside a fresh strawberry shortcake.
Storage and Reheating
| Method | Duration | Instructions |
|---|---|---|
| Freezer Container | 2 Weeks | Seal tightly in a shallow, airtight plastic container |
| Softening | 10 Minutes | Leave at room temperature before serving |
Nutritional Information
Approximate values per serving.
| Nutrient | Amount per Serving |
|---|---|
| Calories | 280 |
| Fat | 18g |
| Carbohydrates | 24g |
| Protein | 3g |
Frequently Asked Questions
Can I make this ice cream without an ice cream maker?
You can achieve a similar result by whipping the heavy cream to stiff peaks and folding it into the chilled custard base. Freeze the mixture in a shallow pan and whisk it vigorously every thirty minutes for three hours to prevent large ice crystal formation.
Why did my custard base turn out grainy?
Graininess usually happens if you overheat the eggs or fail to strain the mixture through a fine-mesh sieve. Straining ensures any small lumps are removed, providing the smooth finish required for high-quality ice cream.
How do I know when the custard is finished cooking?
The custard is finished when it coats the back of a spoon thick enough that you can draw a line through it with your finger. This stage is known as nappe and indicates the proteins have thickened correctly.
Can I store this ice cream for longer than two weeks?
You can store it for up to one month, though the texture may begin to degrade due to the lack of industrial-grade stabilizers. Keep it in the back of the freezer where the temperature remains more constant.
What is the secret to a professional texture?
The secret is rapid cooling of the churned mixture, which keeps fat globules small and evenly distributed. Using a high-fat dairy base and ensuring your machine is perfectly cold are the two most critical factors.
Mastering this creamy vanilla ice cream recipe offers endless possibilities for your home dessert menu. By focusing on the temperature of your base and the quality of your ingredients, you ensure a professional result every time you churn. Enjoy the process of crafting this timeless treat, and savor the smooth, rich vanilla notes in every single bite.
Print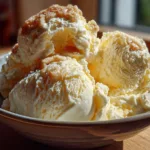
The Ultimate Homemade Creamy Vanilla Ice Cream
- Total Time: 360
- Yield: 8 servings 1x
- Diet: Vegetarian
Description
Indulge in a rich, smooth, and refreshing classic vanilla ice cream. This custard-based dessert uses premium vanilla bean paste and high-quality dairy to create a velvety texture that remains soft even after freezing. By slowly tempering egg yolks, you achieve a deep, complex flavor profile that elevates this treat far beyond store-bought alternatives. Perfect for serving as a foundation for your favorite toppings or enjoying on its own.
Ingredients
2 cups heavy cream
1 cup whole milk
3/4 cup granulated sugar
1 tablespoon vanilla bean paste
4 large egg yolks
Instructions
Whisk the egg yolks and sugar in a medium bowl until pale and thick.
Heat the milk and heavy cream in a heavy-bottomed saucepan over medium heat until steaming.
Temper the egg mixture by slowly pouring half of the hot cream into the eggs while whisking constantly.
Return the combined mixture to the saucepan and cook over low heat until it coats the back of a spoon.
Strain the custard through a fine-mesh sieve into a clean bowl.
Stir in the vanilla bean paste and refrigerate for at least four hours.
Churn the chilled mixture in an ice cream machine according to the manufacturer’s instructions.
Transfer to an airtight container and freeze for four hours to firm up.
Notes
Ensure the heavy cream is well-chilled before starting. Straining the custard is essential for a silky smooth texture. Use a digital thermometer when tempering to ensure the eggs do not scramble. The ice cream is best consumed within a few days of freezing.
- Prep Time: 20
- Cook Time: 15
- Category: Trending
- Method: Churning
- Cuisine: American
Nutrition
- Serving Size: 1/2 cup
- Calories: 280
- Sugar: 22g
- Sodium: 45mg
- Fat: 19g
- Saturated Fat: 12g
- Carbohydrates: 26g
- Fiber: 0g
- Protein: 4g
- Cholesterol: 145mg