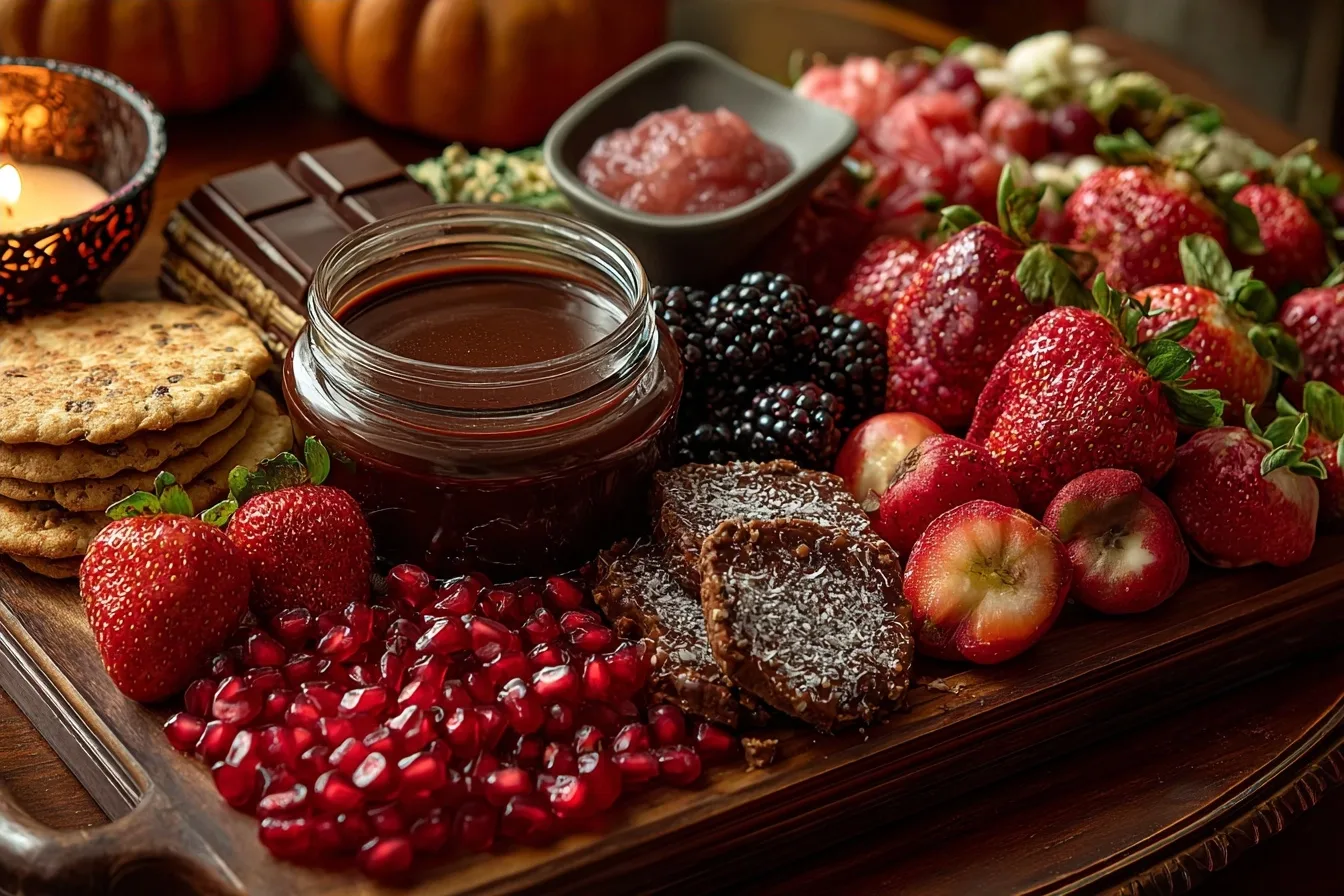
A Halloween Strawberry Dessert Board features fresh, dipped berries transformed into spooky ghouls and mummies, making it the perfect centerpiece for festive gatherings. This interactive treat balances the bright acidity of fresh fruit with the rich indulgence of premium chocolate designs. Host your next party with this visually striking dessert that captures the spirit of the season through simple decorations and high quality seasonal ingredients.
Recipe Overview
| Prep Time | 30 minutes |
|---|---|
| Cook Time | 10 minutes |
| Total Time | 40 minutes |
| Servings | 8 servings |
| Difficulty | Easy |
| Cuisine | American |
Why This Recipe Works
This recipe works because it combines fresh fruit with classic holiday themes to create an accessible yet impressive dessert. Using strawberries as the base provides a healthier alternative to traditional heavy candies while still satisfying cravings for something sweet and chocolatey.
Personal experience confirms that the contrast between creamy white chocolate and dark cocoa designs consistently draws a crowd. The modular nature of assembly allows home cooks to adjust the batch size according to guest counts without changing the underlying method. Consistency remains high regardless of artistic background due to the repetitive nature of the decorating steps.
Ingredients
| Ingredient | Quantity | Notes |
|---|---|---|
| Fresh Strawberries | 2 lbs | Choose firm, large berries for better dipping surface |
| White Chocolate Chips | 2 cups | Use high-quality melting wafers for smoother consistency |
| Dark Chocolate Chips | 1 cup | Required for facial features and spiderweb accents |
| Assorted Sprinkles | 1/2 cup | Use black, orange, and purple for Halloween themes |
| Coconut Oil | 1 tablespoon | Add to chocolate to thin the dip slightly |
Step-by-Step Instructions
Preparation
- Wash the strawberries thoroughly under cold water and pat them dry with lint-free paper towels to ensure chocolate adhesion.
- Remove the green stems only if preferring a cleaner look, or keep them to serve as small handles for guests.
Decorating and Dipping
- Melt the white chocolate in a microwave-safe bowl using thirty-second intervals, stirring in between to prevent burning.
- Stir the coconut oil into the melted chocolate to create a glossy, thin consistency that covers the fruit evenly.
- Dip individual strawberries into the white coating and place them on a parchment-lined baking sheet to set.
- Drizzle the dark chocolate over the cooled white-dipped berries using a piping bag to create mummy bandages or spider webs.
Final Presentation
- Arrange the decorated strawberries on a large serving board in a central pattern surrounded by additional chocolates and sweets.
- Sprinkle the display generously with festive Halloween-colored candies to fill the spaces between the berries.
Chef Tips for Perfect Results
- Always dry the strawberries completely, as excess moisture causes the chocolate to seize or slide off the fruit surface.
- Place the chocolate-coated berries in the refrigerator for five minutes after the base layer to set the foundation before adding detailed designs.
- Use a toothpick or a small piping bag to draw intricate faces to keep the chocolate lines clean and sharp.
- Store the board in a cool environment, as warm room temperatures will cause the delicate chocolate designs to melt and smudge.
- Group the strawberries by size during the arrangement process to create a balanced look on your serving platter.
Common Mistakes to Avoid
- Melting chocolate at too high a temperature causes it to clump, so keep the heat levels low and steady.
- Leaving sugar crystals or water near the chocolate mixture prevents it from setting into a smooth finish.
- Crowding the serving board makes it difficult for guests to pick up individual berries without smudging the decorations.
- Neglecting to chill the base layer leads to messy designs where the colors bleed into each other during application.
Variations and Substitutions
| Ingredient | Substitution | Impact on Flavor |
|---|---|---|
| White Chocolate | Yogurt Coating | Provides a tangier flavor profile and slightly softer texture |
| Dark Chocolate | Carob Chips | Offers a earthier, caffeine-free alternative to traditional cocoa |
| Coconut Oil | Unsalted Butter | Adds a richer, dairy-forward note to the chocolate coating |
Serving Suggestions and Pairings
Serve this board alongside warm herbal teas or non-alcoholic mulled fruit drinks to complement the sweetness of the berries. It works exceptionally well as a dessert display for community harvest events or family-friendly trick-or-treat gatherings. Pairing the berry platter with bowls of salty nuts or air-popped popcorn balances the sugar intensity of the chocolate.
Storage and Reheating
| Method | Duration | Instructions |
|---|---|---|
| Refrigerator | 24 hours | Store in a single layer to protect the chocolate decorations |
| Freezer | Not Recommended | Freezing causes the berries to release moisture upon thawing |
Nutritional Information
| Nutrient | Amount per Serving |
|---|---|
| Calories | 140 |
| Protein | 2g |
| Fat | 8g |
| Carbohydrates | 18g |
| Fiber | 2g |
| Sugar | 15g |
| Sodium | 10mg |
Approximate values.
Frequently Asked Questions
Can I use milk chocolate instead of white chocolate for the base?
You can certainly use milk chocolate as a base, though it will naturally change the color palette of your Halloween theme. You might choose to use contrasting white chocolate for the drizzles to maintain visibility of your spiderweb or mummy designs.
How do I prevent the chocolate from seizing while I am working?
Keep moisture away from the bowl at all times, as even a single drop of water will cause melted chocolate to seize. If the chocolate becomes too thick, add a small amount of oil to bring back the desired fluidity.
Is there a way to make this dessert ahead of time?
The most efficient way to prepare this board is to dip and decorate the berries up to six hours before serving. Keep them in the refrigerator on a flat tray and arrange them on the board just before guests arrive to keep the chocolate crisp.
What is the best way to clean the strawberries before dipping?
Cold, running water works best to remove debris from the crevices of the fruit. After washing, place the berries on a dedicated dish towel to ensure they are bone-dry before the chocolate touches the skin.
How do I keep the berries from sliding off the board?
Use a small dab of leftover melted chocolate as glue to anchor the bottom of each strawberry to your serving board. This ensures that the display remains intact while guests select their festive treats.
The Halloween Strawberry Dessert Board stands out as a creative highlight for any seasonal holiday event. Its combination of fresh fruit and rich chocolate makes for a wholesome treat that guests of all ages enjoy. By following these simple steps, you create a professional-looking display that brings festive spirit to the table. Embrace the artistic side of cooking and enjoy the process of crafting these spooky, delicious strawberry creations for your next gathering.
Print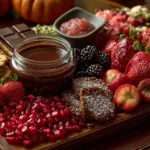
The Ultimate Halloween Strawberry Dessert Board
- Total Time: 40
- Yield: 8 servings 1x
- Diet: Vegetarian
Description
This stunning Halloween-themed dessert board features fresh, juicy strawberries transformed into spooky mummies and ghouls. Using high-quality white and dark chocolate, these treats offer a sophisticated balance between fresh, healthy fruit and indulgent confection. Perfect for festive gatherings, this centerpiece is easy to assemble, visually striking, and consistently popular with party guests of all ages.
Ingredients
2 lbs Fresh Strawberries
2 cups White Chocolate Chips
1 cup Dark Chocolate Chips
1/2 cup Assorted Halloween Sprinkles
1 tablespoon Coconut Oil
Instructions
Wash strawberries thoroughly and pat completely dry with lint-free paper towels.
Keep stems on strawberries for easy handling.
Melt the white chocolate in a microwave-safe bowl in 30-second intervals until smooth.
Stir the coconut oil into the melted white chocolate for a glossy, dippable consistency.
Dip each strawberry into the white coating and place on a parchment-lined baking sheet to set.
Once white chocolate is set, melt the dark chocolate in a separate bowl.
Use a piping bag or spoon to drizzle the dark chocolate over the white-coated berries to create mummy or spiderweb designs.
Add sprinkles or dark chocolate dots to form facial features while the chocolate is still tacky.
Arrange the finished berries on a serving platter or board.
Notes
Ensure strawberries are completely dry before dipping, as any moisture will cause the chocolate to seize. Keep the decorated berries in a cool area to prevent the chocolate from melting before serving. You can store these in the refrigerator for up to 24 hours.
- Prep Time: 30
- Cook Time: 10
- Category: Trending
- Method: No-bake decoration
- Cuisine: American
Nutrition
- Serving Size: 1/8 of board
- Calories: 210
- Sugar: 22g
- Sodium: 15mg
- Fat: 11g
- Saturated Fat: 7g
- Carbohydrates: 28g
- Fiber: 2g
- Protein: 2g
- Cholesterol: 5mg